Weekend Project-Survival Shelter
For no reason other than putting theory to practice I decided to build a quick survival shelter. Armed with some cordage, a kukri and my Condor bushlore knife I began to create a basic survival shelter out of deadfall materials, a few alders and some pine/spruce branches.
Having found a suitable spot under a group of fir trees that offered a level soft bed of needles and moss I orientated the shelter facing Southeast so I get morning and afternoon sunshine through the trees.
A basic 45 degree lean-to design I created the initial frame intending to cover it with wood and branches to create a "debris" shelter. Using a heavy duty drop sheet I modified my plan and create a waterproof design for the coming winter. A tarp would be a more durable choice but the drop sheet was larger, clear and cheap.
Once the frame was covered with the drop sheet I added boughs followed by an assortment of debris; deadfall branches, sticks, leaves and pine needles. The end result was a natural camouflage that blends in seamlessly with the surroundings.
Unfortunately I miscalculated the weight of the debris and had to add a Y shaped support to the front. I may now consider adding a partial front to further support the structure while adding some additional protection from the elements.
In total it took about four hours to complete the shelter.
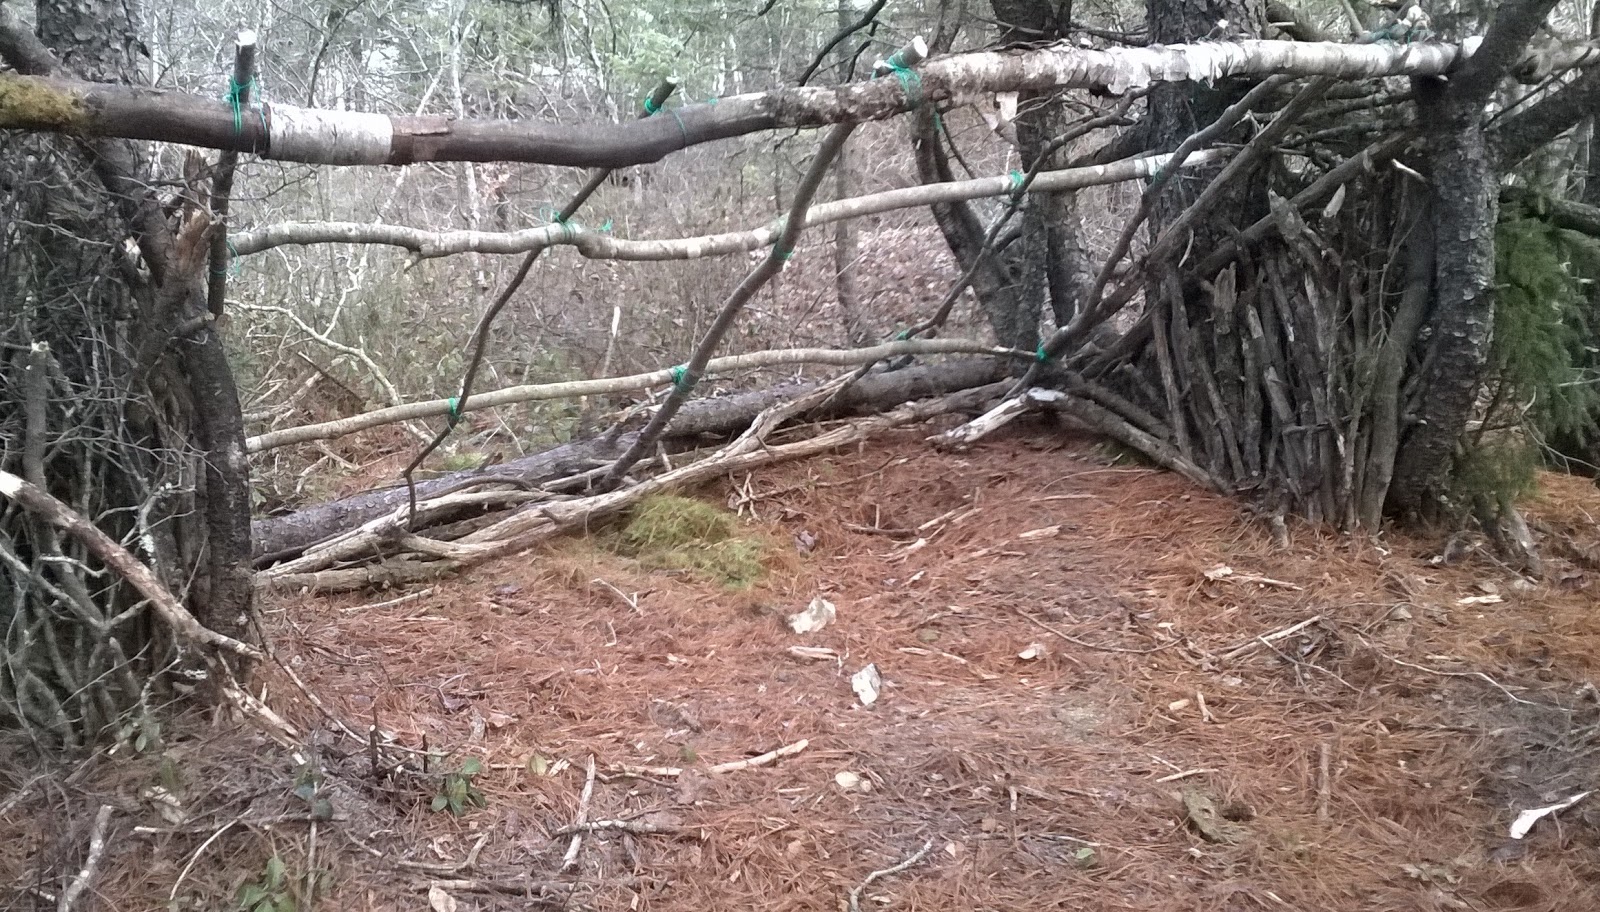
Update - I decided to add a partial front to the shelter since adding the Y support.I built a frame from alders ....picture a classic window frame....than lashed it to the Y support beam with some cordage. I then weaved in spruce branches along with some alders. The nice thing about it is the partition is a modular design- by untying it can be removed in one piece. It was simple to do and took about an hour to create. I may opt to do the same for the remainder of the shelter to have the option of turning the shelter into an enclosed hut.
Update- I decided to create another screen that would enclose the shelter.A modular design it can be lifted away to open the shelter. It offers some options including a portable wind break and if I add a couple Y supports it could easily be used as a canopy extending from the ridge pole of the shelter.
April 2015- the shelter made it through the winter. Looks like some sagging on the ridgepole due to the weight of snow. I will investigate once the melt occurs.


Comments